You may have already seen my rainbow pinata from photo's from my original blog post: http://inthehedgerows.blogspot.co.uk/2013/10/weeeeerrrrreeeee-off-to-see-wizard.html
 |
| Rainbow pinata background |
How it was made
I have never made a pinata before and haven't done papier mache since I was a kid!
For any of you thinking about making your own pinata, Pinata Boy is a fantastic reference: http://pinataboy.com/ - One day my pinata's might look like his...
Basic structure
To get the arch shape I started by attaching balloons together with tape. This was incredibly fiddly but eventually I got something close to an arch. I then curved the gaps between the balloons with cardboard, packed out with scrunched up newspaper. From briefly researching on the internet it was advised to use as little cardboard as possible to make the pinata easier to break.
Once the structure was formed it was time to use papier mache! It was generally suggested that 4 layers of kitchen roll would be tough enough to hold the pinata full of sweets but soft enough that it could still be broken. I decided to do 3 layers of newspaper and 1 layer of tissue paper - leaving the two base (ends) open.
 |
| Basic balloon structure |
 |
| Cardboard and balloon structure |
 |
| Completed papier mache |
By the time the papier mache was finished I was feeling quite disheartened as shape was very bumpy and lopsided - but I was persistent as I was sure the tissue paper would bulk it out! Once it was all dry I popped the balloons, removed them and sealed the ends with more papier mache
Time to decorate!
I drew different sections on the pinata and painted them the colours of the rainbow as a guide when applying the tissue paper. I then stabbed the pinata to create weak points, cut a hatch in the top, filled the pinata with sweets and glued the hatch shut. Before adding tissue paper I cut slits along the back and threaded thick red ribbon through to hang it up with.
 |
| Painting guide |
 |
| Fully painted |
 |
| Sweet hatch |
 |
| First layer of tissue paper |
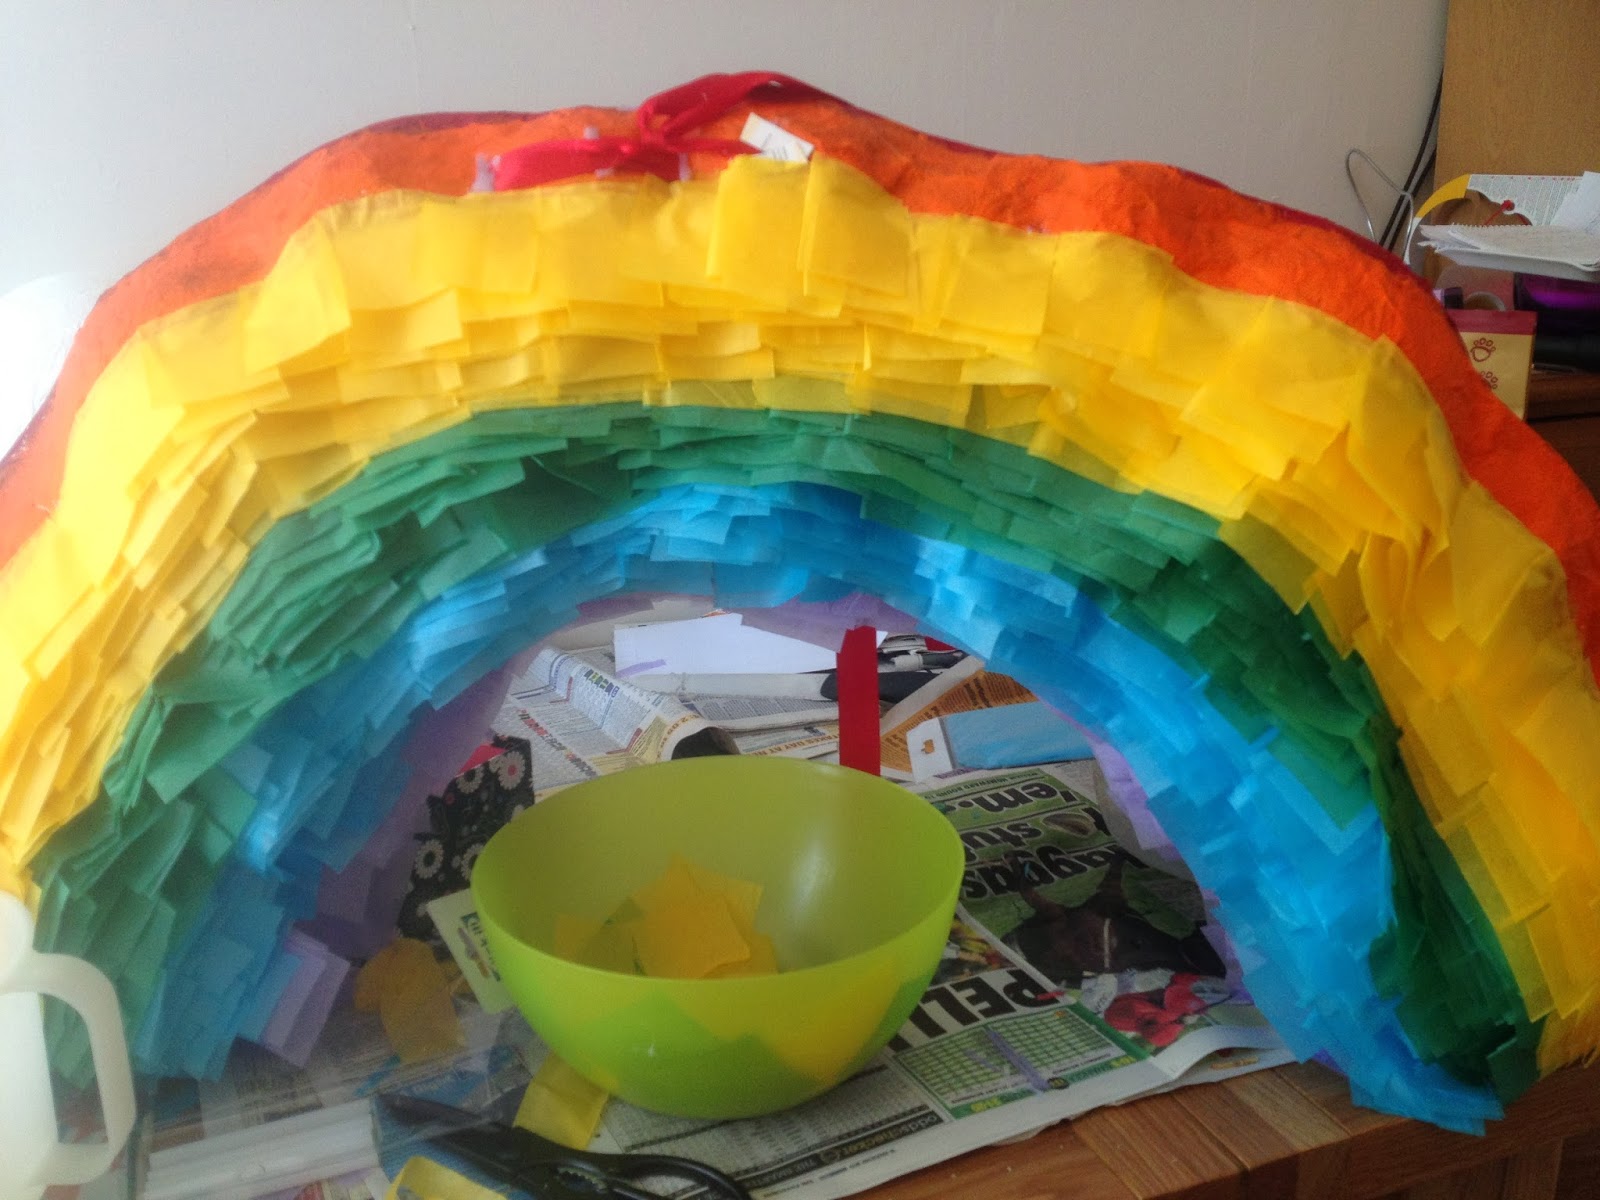 |
| Tissue paper layers almost complete |
 |
| Hiding the tissue paper meeting |
 |
| Finished pinata |
I was so scared about the ribbon not holding that we didn't hang it until it was going to be destroyed, but it was nearly invincible! Everyone had a go at it but it wouldn't break. In the end someone had to take a sledgehammer to it!
I'll definitely be making more pinata's in the future.
 |
| Taking a sledgehammer to it! |

